
Why Your DJ Set Sounds Distorted: Gain Staging for Hip-Hop, R&B and Afrobeats
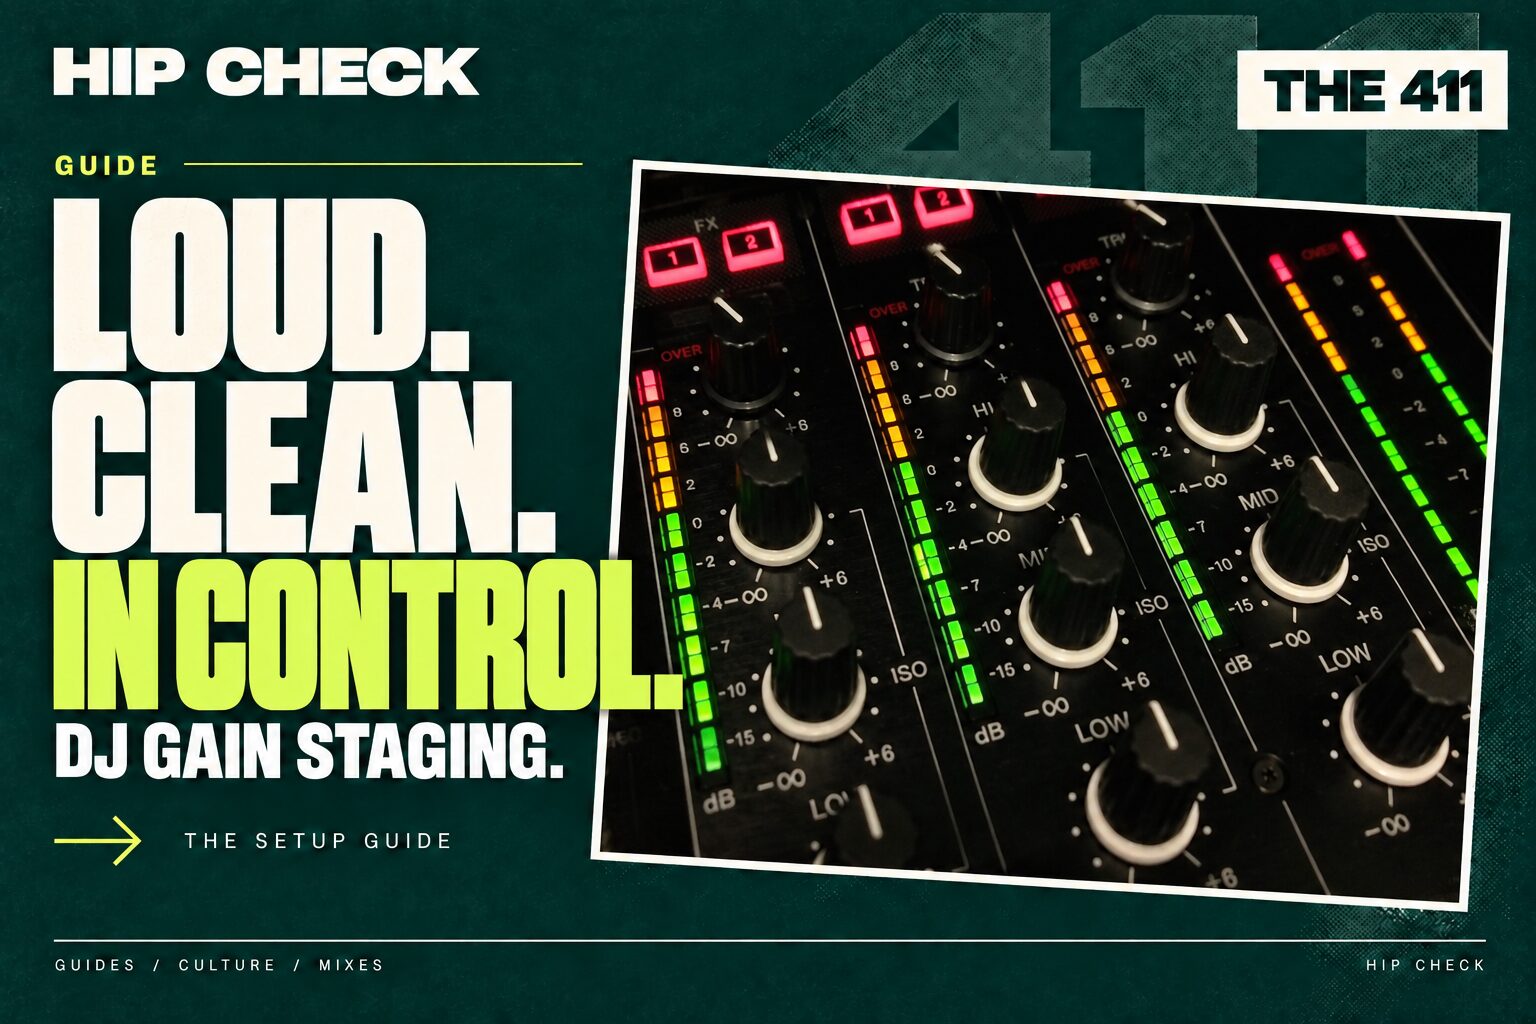
A great selection can still sound rough if the levels are wrong. You move from a spacious R&B record into a dense hip-hop master, push the bass for impact and suddenly the vocal gets harsh. Turning up the master does not solve it. Understanding DJ gain staging does.
This guide is about keeping a live open-format set clear and consistent: hip-hop, R&B, Afrobeats, dancehall and everything between. The goal is enough clean signal at each stage, with space for peaks and transitions. It is not a competition to light up the most LEDs.
What is DJ gain staging?
Gain staging means managing the level as audio moves through your setup. A typical route is music file → software deck → mixer channel → master output → venue system. Each stage has a limit. A clean master meter cannot prove that an earlier stage is clean.
Headroom is the space between your normal signal level and the ceiling of that stage. Serato’s gain-structure guide explains the underlying concepts. Keep the practical distinction in mind: trim sets a channel’s working level; the channel fader controls its contribution to the mix; the master sets the combined output. Your booth control adjusts what you hear locally, not necessarily what the audience hears.
Why open-format sets need extra attention
A similar peak reading does not guarantee similar perceived loudness. A dynamic older recording may have sharp drum peaks and quieter passages. A heavily limited modern track can remain dense almost constantly. A bass-heavy record may also feel different on a club system from the same track in headphones.
Do not decide that all old music needs a boost or all new music needs a cut. Versions matter: an original album master, remaster, clean edit and extended DJ edit can have different levels. Check the actual file you intend to play.
A soundcheck routine you can repeat
- Start with the system turned down. Confirm which outputs feed the room and which feed your booth. If there is a sound engineer, agree your output level before the set.
- Choose a representative loud passage. Use a full chorus or drop, rather than a quiet intro. Start with EQ neutral and effects off.
- Check the software deck. Look for clipping or limiting before the signal reaches the mixer. Automatic gain is a starting point, not a replacement for listening.
- Set channel trim. Follow the equipment’s meter guidance and leave space for peaks. Avoid treating a particular LED colour or knob position as a universal target.
- Set the master with the venue. Bring it to the agreed working level. Ask for more room level through the system operator when appropriate, rather than overdriving your output.
- Test a transition. Two channels, added EQ and effects can produce a higher combined level than a single track. Rehearse the busiest moment, not just solo playback.
Pioneer DJ’s mix-preparation guide also stresses checking levels and adjusting individual tracks. For recording-specific routes, see our guide to recording a DJ mix at home.
Try this three-track practice exercise
Build a short practice crate with one dynamic R&B song, one dense rap track and one percussion-led Afrobeats or dancehall record. These are roles, not assumptions about how any genre is mastered.
First transition: cue the loudest part of the incoming rap track. Compare it with the outgoing song at a comfortable headphone level. Reduce its trim if the jump feels excessive. Bring it into the mix and listen to the vocal as well as the kick.
Second transition: move into the percussion-led record. If its meters look similar but the room seems to lose weight, resist an immediate large boost. The arrangement may simply have less sustained bass. Give the groove a moment, then make a small correction if needed.
Final pass: play the sequence again with your usual effects. Listen for a level surge when both basslines overlap or an echo feeds into the next drop. Mark the corrective move in your practice notes. This exercise is an HC practice suggestion, not a measured comparison of particular releases.
EQ, stems and effects can change the result
Adding bass is adding level in a frequency range. Two full basslines may crowd each other even when neither track clips alone. Try handing the low end from one record to the other rather than leaving both fully open.
Stem isolation can change the balance you were relying on. A vocal-only section may feel quieter than the full track; pushing trim to compensate can cause a jump when the drums return. Practise the return to the full arrangement. Long echoes, reverbs and effect feedback also deserve a meter check.
Keep vocal timing clean as well as levels: our guide to mixing vocals covers giving each vocal space.
Where is the distortion coming from?
- Only one file sounds bad: compare it with a trusted version at matched listening volume. An already distorted file cannot be repaired by lowering the mixer output.
- Software meter overloads: reduce the relevant deck gain or processing before chasing the hardware output.
- Only the transition sounds rough: inspect overlapping bass, EQ boosts and effects. Test each channel alone.
- Headphones sound clean, room sounds harsh: ask the engineer to check the downstream signal path. The issue could be after your mixer.
- Only the recording distorts: check the recorder or audio-interface input separately. Its headroom is not guaranteed by the mixer meters.
Three common questions
Should every track hit exactly the same meter level?
No. Meters help you avoid overload, but they do not replace your ears. Compare perceived level, arrangement and the response of the actual system.
Does lowering the master fix clipping?
Only if the overload occurs at a point affected by that control. It cannot undo distortion already created in a file, deck or earlier stage.
Is red always clipping?
Meter scales and warning indicators differ by device. Read the manual and distinguish a level indicator from a dedicated clip warning. Leaving usable headroom is a better working habit than relying on a colour alone.
The HC approach
Set a clean baseline, check incoming tracks in cue, and make small adjustments. A controlled transition usually does more for impact than another turn of the master. Your loudest moment should still sound like music.